In an earlier blog post, I talked about what is a managed disk and why you should use it and in this post, we will cover how easy is to move your existing virtual machines from the storage account model to managed disk model.
The first thing that you need to do is to plan for failure. Yes, you heard that right. You need to be prepared for things to go wrong so you can have a plan to recover.
Planning and taking action, in this case, is simple. You need to have a recent backup of the VM and to plan for downtime. The conversion process from regular storage disks to managed disks is not an online operation so your VMs need a reboot. If you have VMs in availability sets then this is quite simple as you’re going to take them down one at a time.
Another thing that you need to check, is that if you have any extensions, then all of them should have a success status otherwise this will fail.
After you have a plan to recover in case of a failure, it’s time to convert the VMs.
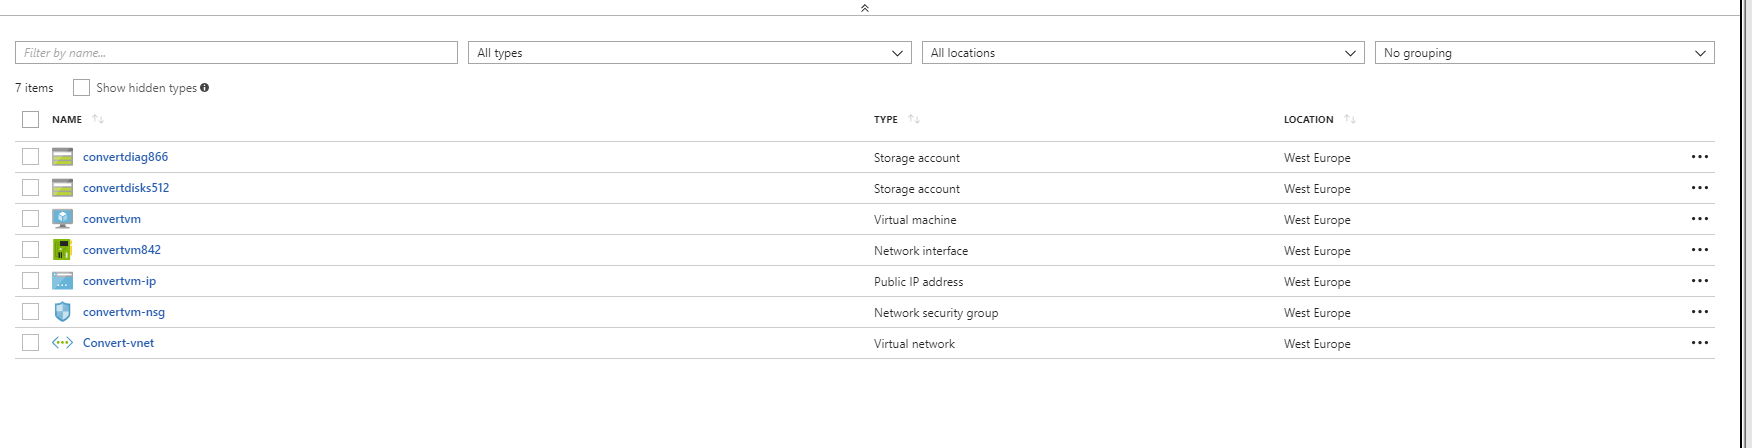
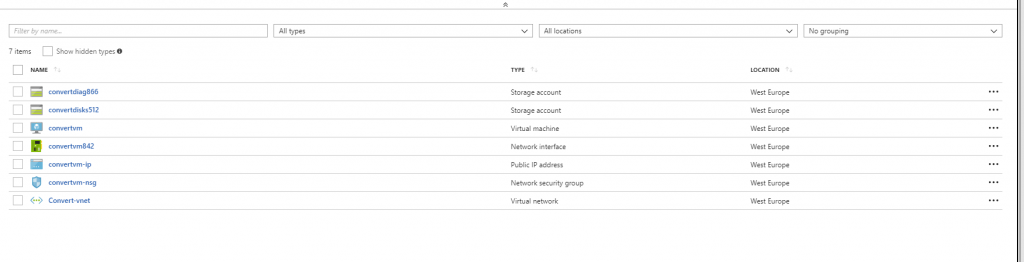
The VM I have created for this example is pretty simple. It’s a single VM which has an OS Disk and a Data Disk in a Storage Account.
The conversion process.
In order to convert the VM, you will need to turn to PowerShell so you can run some Azure cmdlets.
The first thing you need to make sure is that you have the latest version of the AzureRM PowerShell cmdlets otherwise this will not work.
##Install AzureRM

Install-Module AzureRM -Verbose -Force

##Update AzureRM

Update-Module AzureRm -verbose -Force
Once your AzureRM cmdlets are installed/updated, login to your Azure Subscription
Login-AzureRmAccount
Use the following PowerShell block to convert your VM.
$ResourceGroupName = "Convert-VM"
$VMName = "convert-vm"
$SubscriptionID = "123456-123456-123456-123456"

Select-AzureRmSubscription -SubscriptionId $SubscriptionID

Stop-AzureRmVM -ResourceGroupName $ResourceGroupName -Name $VMName -Force

ConvertTo-AzureRmVMManagedDisk -ResourceGroupName $ResourceGroupName -VMName $VMName
Let’s see what does the code block from above do:
Select-AzureRmSubscription – This selects the subscription you’re going to perform the conversion process
Stop-AzureRmVM – This as the name says will stop the VM (Remember the planning phase)
ConverTo-AzureRmVmManagedDisk – This cmdlet will convert the VM from normal storage to Managed Disks and will start it up after you
If you have multiple VMs in an availability set then the first thing you need to do is to convert the Availability Set to support Managed Disks. You can do that with the code down below.
$ResourceGroupName = "Convert-VM"
$AVSetName = "Convert-AVS"

$AVSetName = Get-AzureRmAvailabilitySet -ResourceGroupName $ResourceGroupName -Name $AVSetName
Update-AzureRmAvailabilitySet -AvailabilitySet $AVSetName -Sku Aligned
Update-AzureRmAvailabilitySet – This command will convert the Availability Set to support managed disks. It will not disrupt available VMs in that availability set, so you can run it without issues.
Once the conversion process is done, the VMs boot up and you’re golden. Just verify if everything is OK and delete the storage account.
That’s the whole process. If you encounter any errors during the conversion phase, just run the cmdlet again to unblock the process. This can happen due to a transient error on Azure’s side and all it needs is a re-run.
Have a good one!